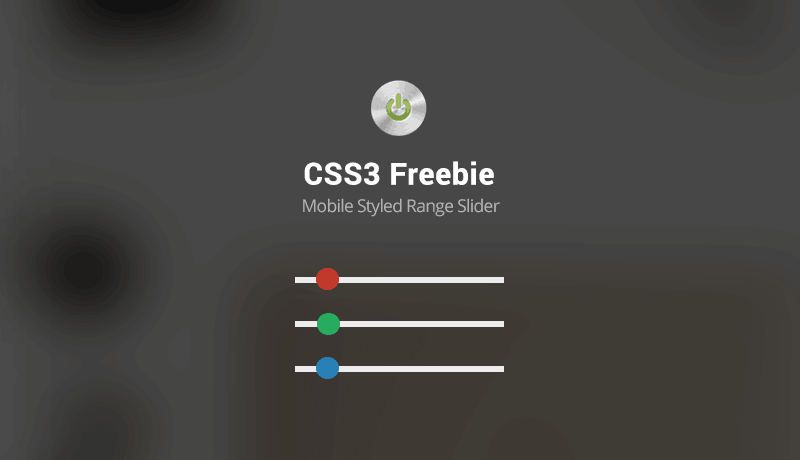
 We’ve noticed that you can find a million plugins online to create basic Range Sliders for mobile devices but most of them, if not all, are running on jQuery plugins. This would be awesome 5 years ago, but as technology evolved, Range Sliders now work using simple, basic, awesome CSS! Let’s see how!
The HTML
<div class="ranger-wrapper">
 <p>How much?</p>
 <input type="range" value="10" class="range-slider">
</div>
The code above will generate our range slider. The first line and the last will be the housing class of the range slider. Inside, we’ll keep a paragraph of text for obvious reasons, and a classic input field. Replace the value with anything from 0 to 100 according to your needs!
The CSS
.range-slider{
 -webkit-appearance: none;
 width: 150px;
 height: 20px;
 margin: 10px 50px;
 background: linear-gradient(to right, #ececec 0%, #ececec 100%);
 border-radius:20px!important;
 background-size: 120px 5px;
 background-position: center;
 background-repeat: no-repeat;
 overflow: hidden;
 outline: none;
 zoom: 130%;
 display: block;
 margin: auto;
}

.range-slider::-webkit-slider-thumb {
 -webkit-appearance: none;
 width: 15px;
 height: 15px;
 background: #2ecc71;
 position: relative;
 z-index: 3;
 border:none!important;
 border-radius:30px;
}

.range-slider::-webkit-slider-thumb:after {
 content: " ";
 width: 150px;
 height: 10px;
 position: absolute;
 z-index: 1;
 right: 20px;
 top: 5px;
}
The CSS behind the range slider is very easy as well.
We begin by styling the the main line, not to get too technical with you, the CSS code will simply replace the default style shown by your mobile browser, and add some styling guides. You can replace the width and height of the range slider itself on lines 3 and 4, and the background color on line 6.
Resizing the slider ball can easily be done on lines 20 and 21 and it’s background color is set on line 22.
And there you have it! Not a lot to say about it, but it works wonders on your mobile and it won’t need any JS behind it!
Use and abuse it! Enjoy!

Useful idea thank you admin